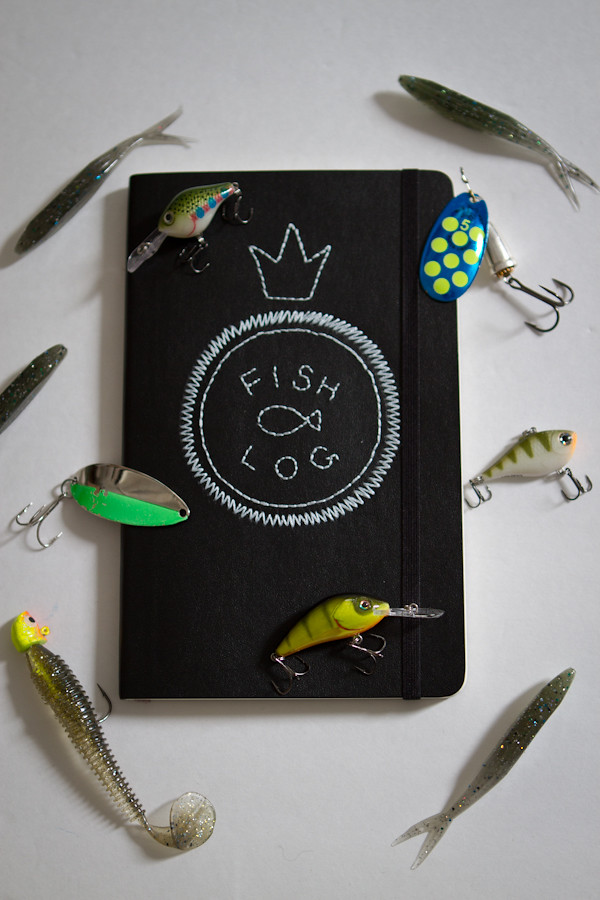
Moleskine Fish Log
I started fishing about 5 years ago now.
Been logging my fishing trips in my planner but I thought maybe it's time to have its own official fishing logbook!
It's one of those thing I'm hoping to log my entire fishing life recorded in this notebook.
Scroll down to see the tutorial!
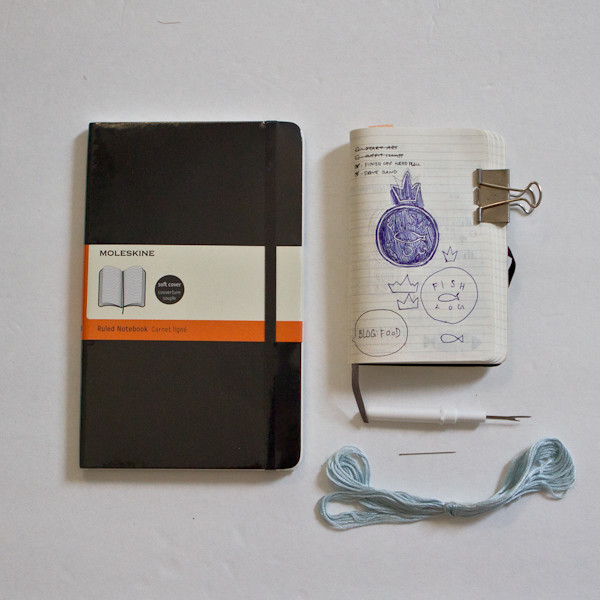
Materials:
- Moleskine Soft Cover Ruled Notebook: 192 lined pages, 13x21cm - 5x81/4''
- 1 Sewing Needle
- 1 colors Embroidery Threads
- Sewing Awl or Ice Pick
- Pencil and Eraser
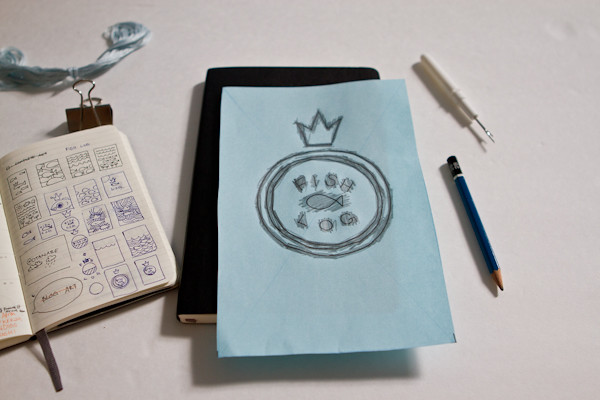
1: Design a cover.
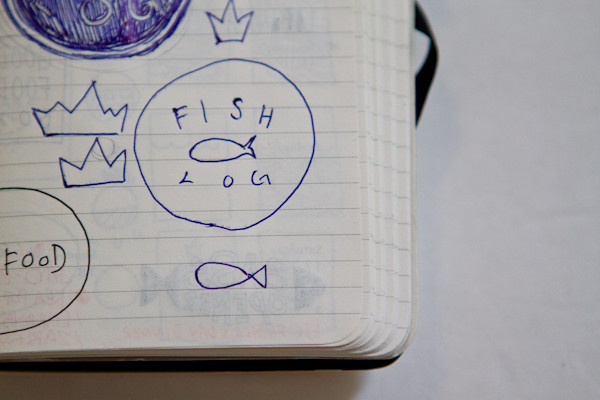
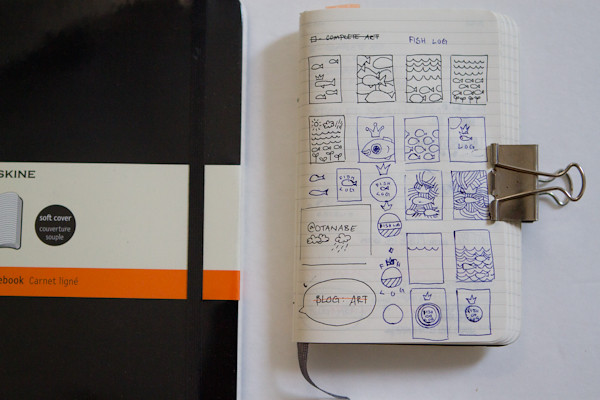
2: With piece of paper following the dimension of the notebook, draw out the design.
You are using this as transferring paper, so use a pencil to color in the entire design.
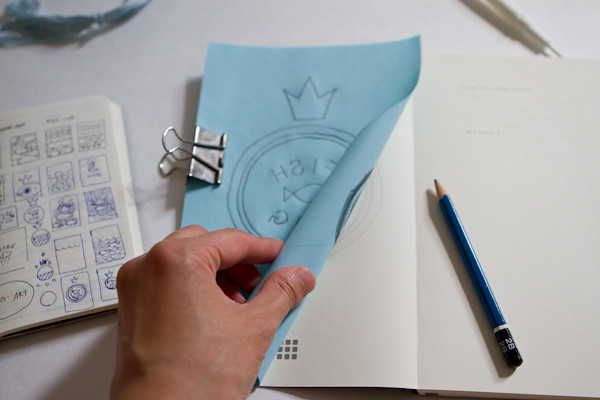
3. Open the notebook and place the transfer behind the cover(front side facing down). Use any paper clip to secure the transfer if needed.
Redraw the design backward to transfer the design.
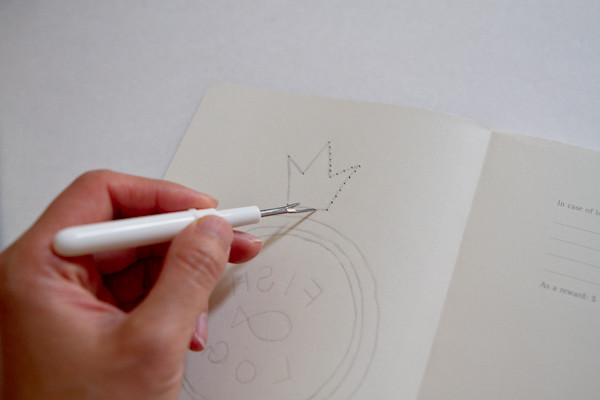
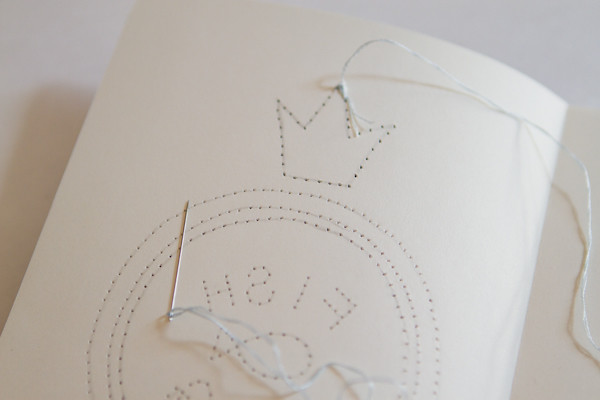
4. Use sewing awl to prick holes with desired length. This will be your stitch length.
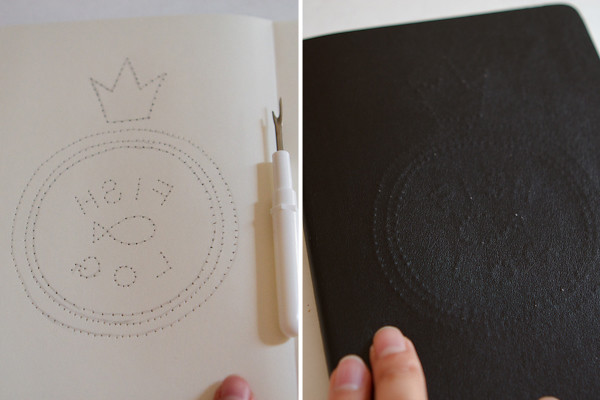
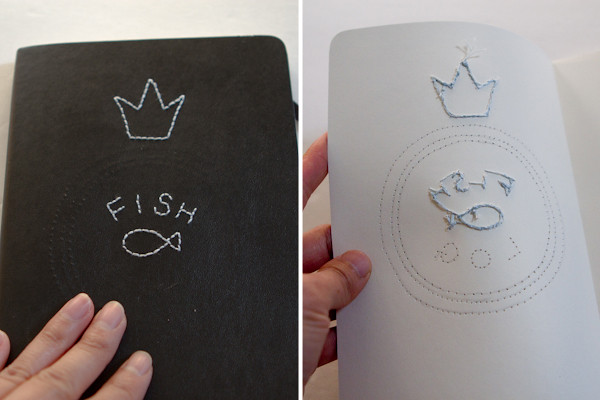
This is how it looks like from the back cover(image left) and the front cover(image right).
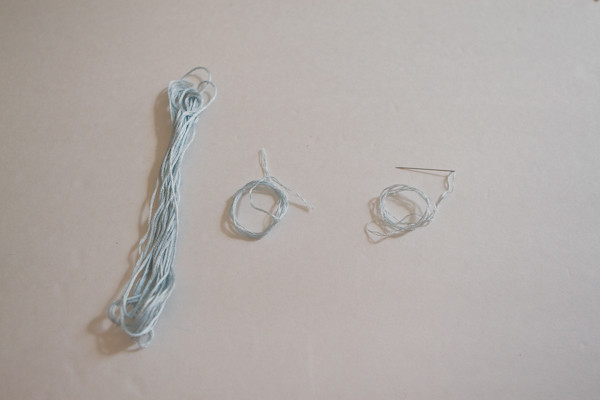
5. With embroidery thread, unthread the strings(it's usually 6-ply thread). I used 3-ply thread for stitching.
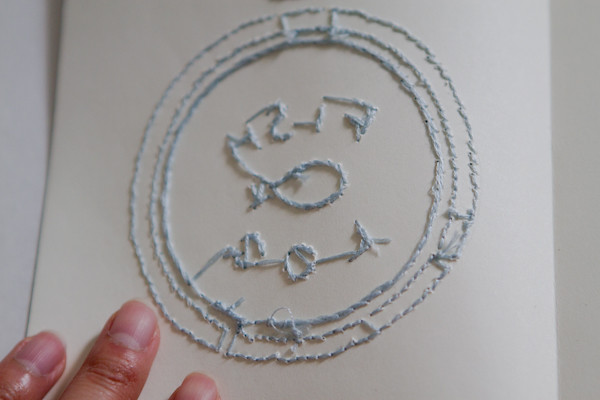
6. Now follow the holes to stitch.
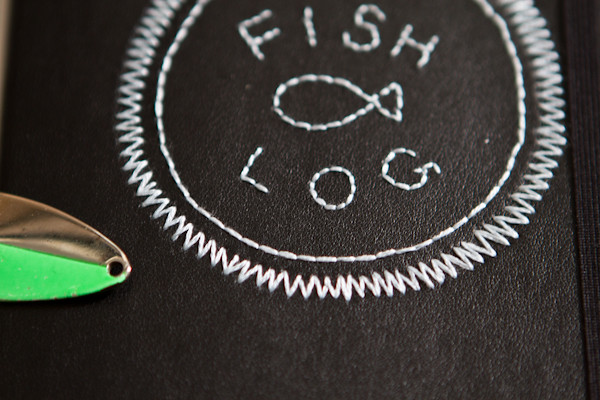
Example result:
Been logging my fishing trips in my planner but I thought maybe it's time to have its own official fishing logbook!
It's one of those thing I'm hoping to log my entire fishing life recorded in this notebook.
Scroll down to see the tutorial!
Materials:
- Moleskine Soft Cover Ruled Notebook: 192 lined pages, 13x21cm - 5x81/4''
- 1 Sewing Needle
- 1 colors Embroidery Threads
- Sewing Awl or Ice Pick
- Pencil and Eraser
1: Design a cover.
2: With piece of paper following the dimension of the notebook, draw out the design.
You are using this as transferring paper, so use a pencil to color in the entire design.
3. Open the notebook and place the transfer behind the cover(front side facing down). Use any paper clip to secure the transfer if needed.
Redraw the design backward to transfer the design.
4. Use sewing awl to prick holes with desired length. This will be your stitch length.
This is how it looks like from the back cover(image left) and the front cover(image right).
5. With embroidery thread, unthread the strings(it's usually 6-ply thread). I used 3-ply thread for stitching.
6. Now follow the holes to stitch.
Example result:

Comments
Post a Comment