My Little Apple Head
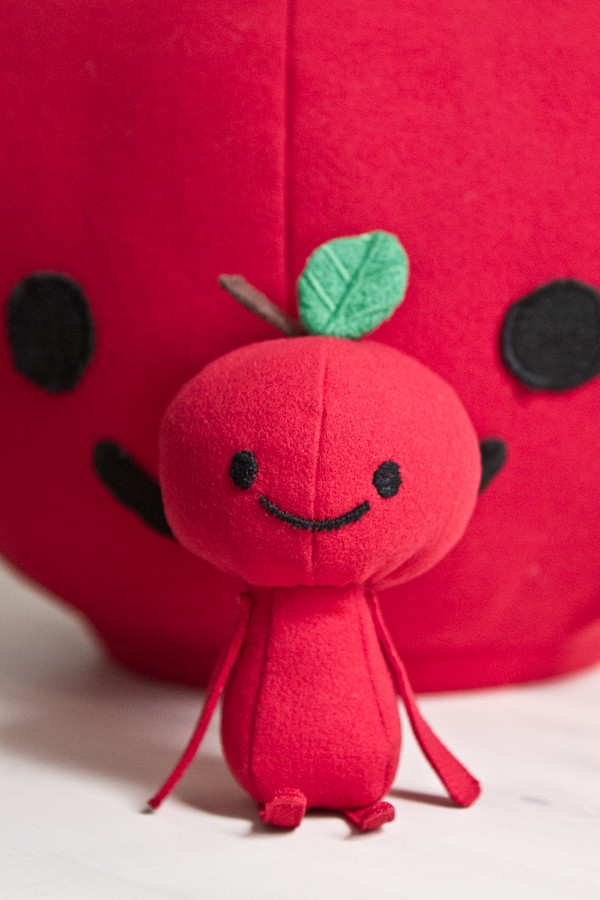
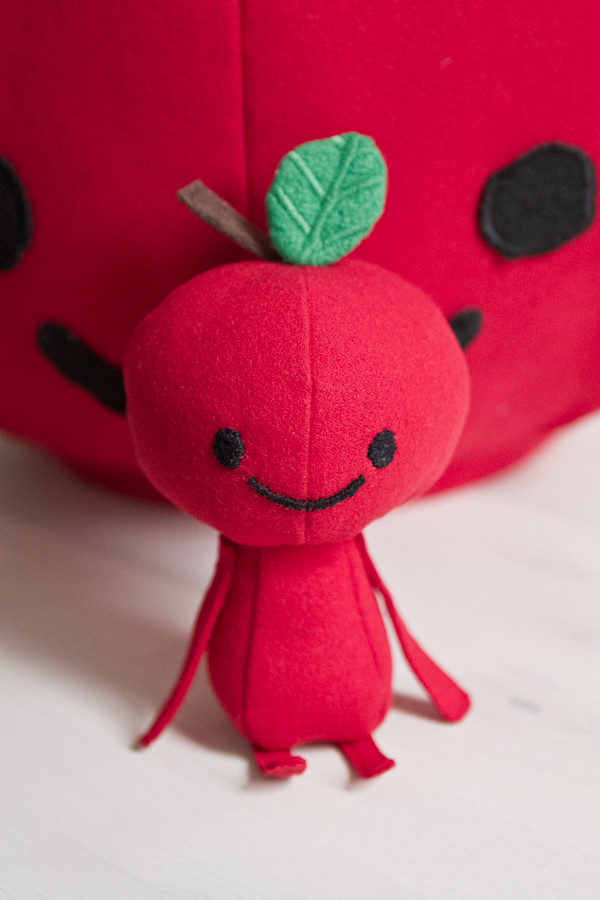
Made this little version of my apple head I made for my profile photo purpose.
From my earlier post of Trip to California Sneak Peek, I made my version of Roaming Gnome to take him with me to take photos of places we traveled.
Pattern is made up by me so there's no "exact" shape to follow the pattern. The head is standard 4-piece sphere pattern that you can find online.
Little Apple Head Materials:
- Red felt (head and body)
- Green felt (leaf)
- Brown felt (stem)
- Fabric scissors
- Sewing threads: red, green, brown
- Crochet thread: black
- Sewing machine
- Sewing needle
- Cotton for stuffing
- Fabric fuse
- Glue gun
Step 1:
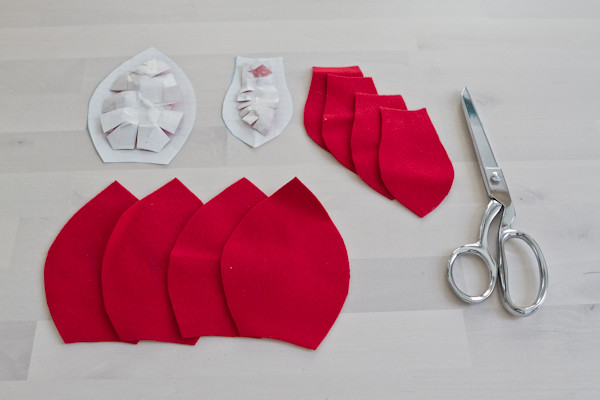
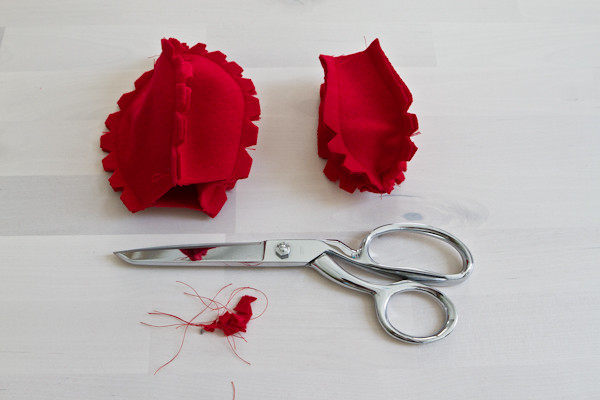
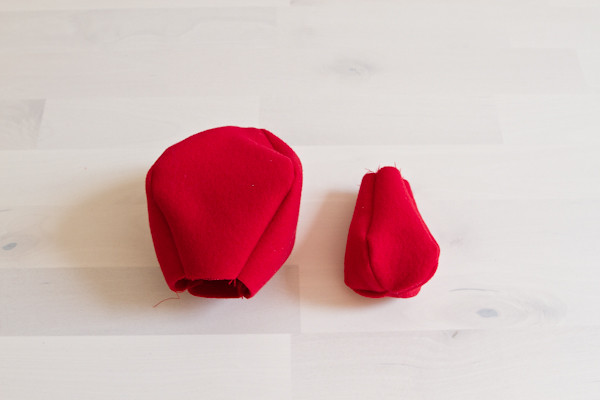
Sew 4 pieces together for the head(left) and the body(right). Then trim edges into triangle for smoother rounded finish when flipping inside out.
Step 2:
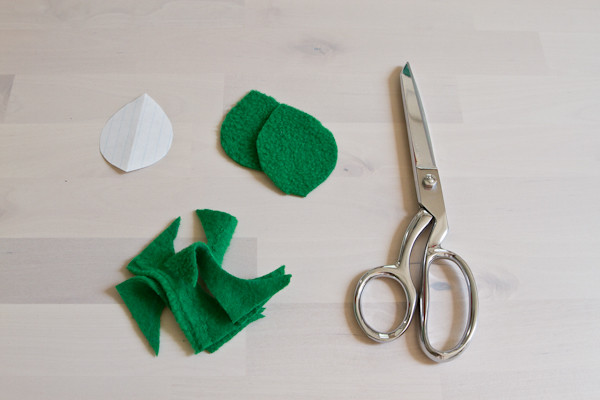
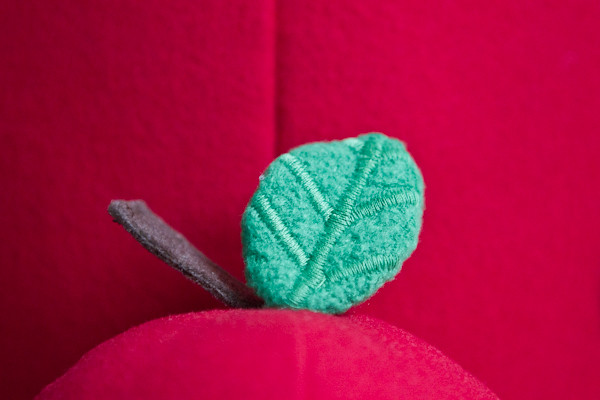
Cut out 2 leaf shapes with green felt. Use fabric fuse to keep the fabric nice and stiff.
Step 3:
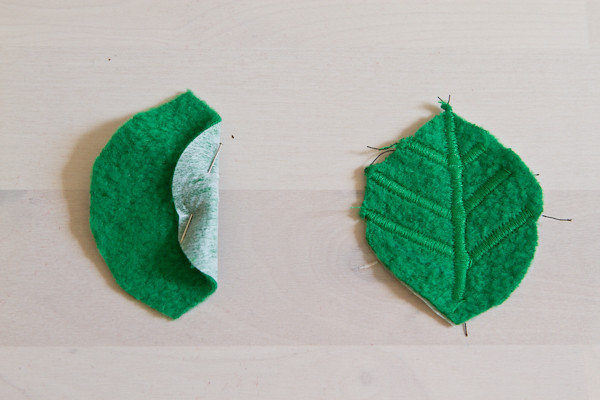
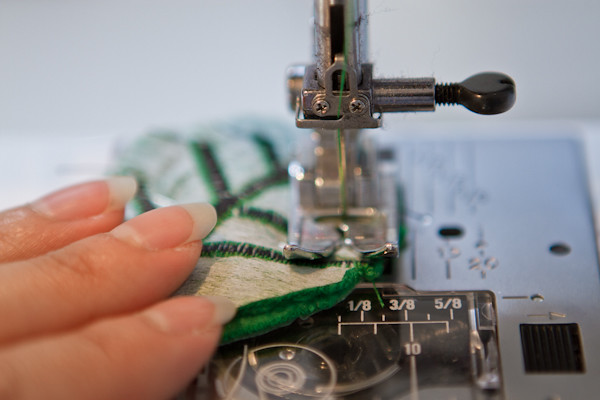
With front side, using sewing machine with zig-zag setting, stitch the leaf veins for more interesting look.
Step 4:
Face the front sides to each other and stitch together.
Flip it inside out.
Step 5:
To make the stem, use fabric fuse on to brown felt. Fold in half.
With sewing machine with double stitch setting, stitch the shape of the stem.
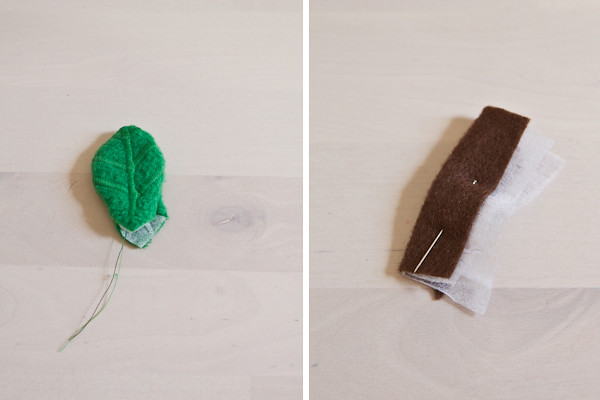
Cut off the edges around the stem.
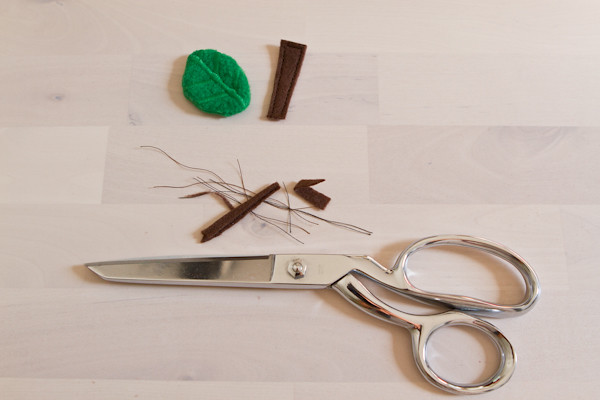
For the leaf, close the edge where you flipped it inside out with invisible stitch.

Step 6:
Glue gun apple head, stem and leaf together.
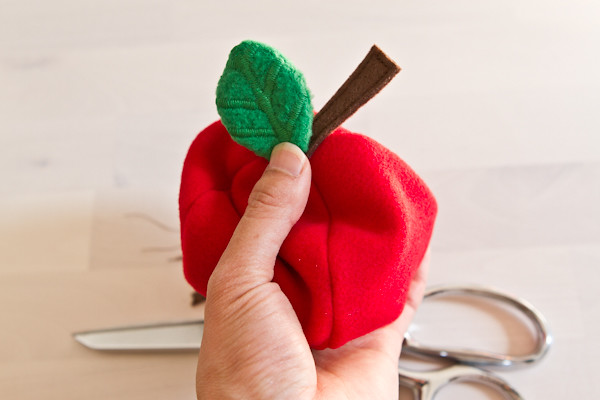
Step 7:
Stuff the head and the body.
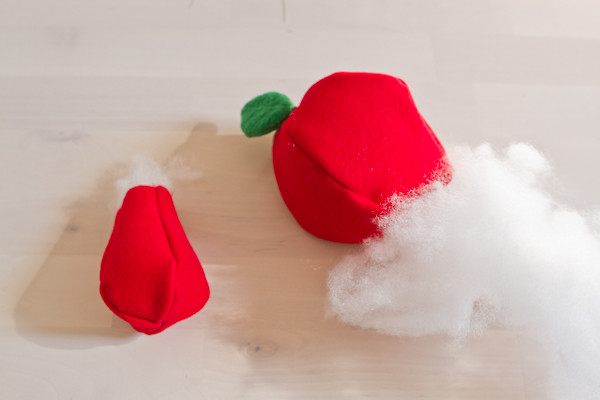
Step 8:
Stitch the head and body together.
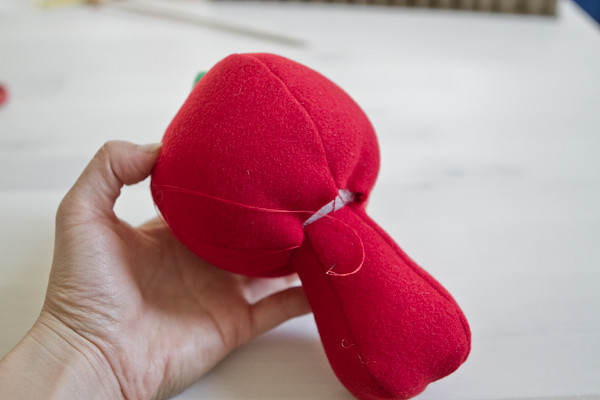
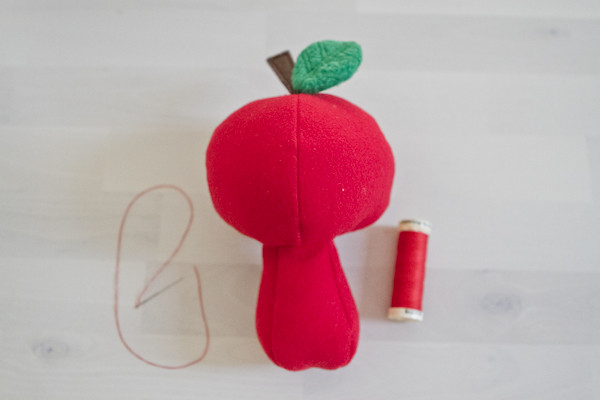
Step 9:
Similar method as making the stem for arms and legs.

Use glue gun to attach the arms and legs
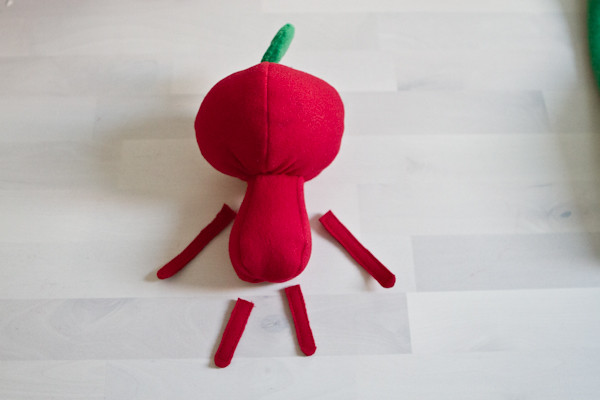
Step 10:
With any sewing thread, markdown eyes and mouth location.
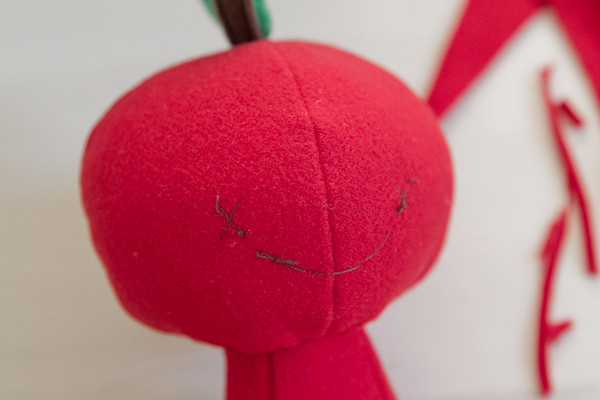
With black crochet thread(or any black yarn), stitch the eyes and mouth over the marker.
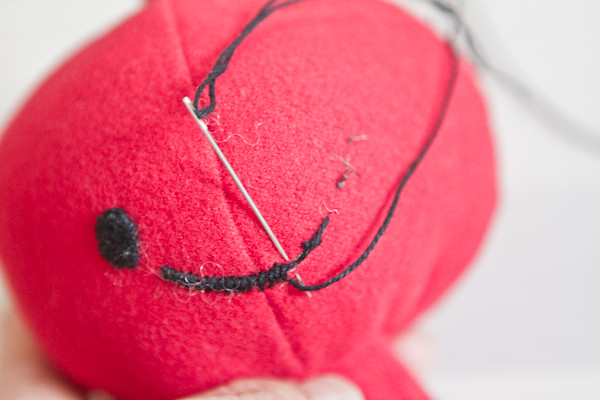
And this is my little roaming Apple Head that I traveled with.
Say hello to Apple Head!

From my earlier post of Trip to California Sneak Peek, I made my version of Roaming Gnome to take him with me to take photos of places we traveled.
Pattern is made up by me so there's no "exact" shape to follow the pattern. The head is standard 4-piece sphere pattern that you can find online.

Little Apple Head Materials:
- Red felt (head and body)
- Green felt (leaf)
- Brown felt (stem)
- Fabric scissors
- Sewing threads: red, green, brown
- Crochet thread: black
- Sewing machine
- Sewing needle
- Cotton for stuffing
- Fabric fuse
- Glue gun

Step 1:
Sew 4 pieces together for the head(left) and the body(right). Then trim edges into triangle for smoother rounded finish when flipping inside out.


Step 2:
Cut out 2 leaf shapes with green felt. Use fabric fuse to keep the fabric nice and stiff.

Step 3:
With front side, using sewing machine with zig-zag setting, stitch the leaf veins for more interesting look.

Step 4:
Face the front sides to each other and stitch together.
Flip it inside out.

Step 5:
To make the stem, use fabric fuse on to brown felt. Fold in half.
With sewing machine with double stitch setting, stitch the shape of the stem.

Cut off the edges around the stem.

For the leaf, close the edge where you flipped it inside out with invisible stitch.

Step 6:
Glue gun apple head, stem and leaf together.

Step 7:
Stuff the head and the body.

Step 8:
Stitch the head and body together.


Step 9:
Similar method as making the stem for arms and legs.

Use glue gun to attach the arms and legs

Step 10:
With any sewing thread, markdown eyes and mouth location.

With black crochet thread(or any black yarn), stitch the eyes and mouth over the marker.

And this is my little roaming Apple Head that I traveled with.
Say hello to Apple Head!


Comments
Post a Comment