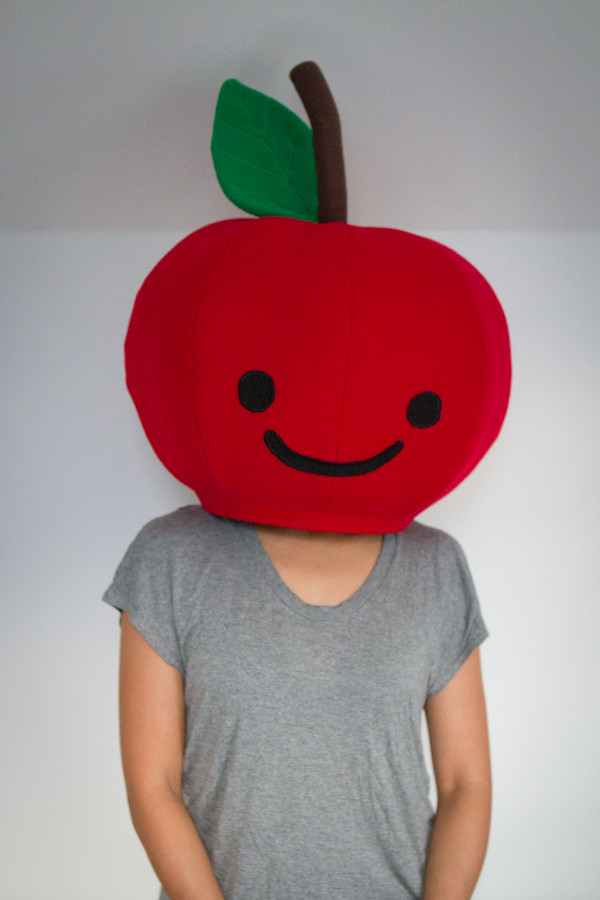
Apple Head
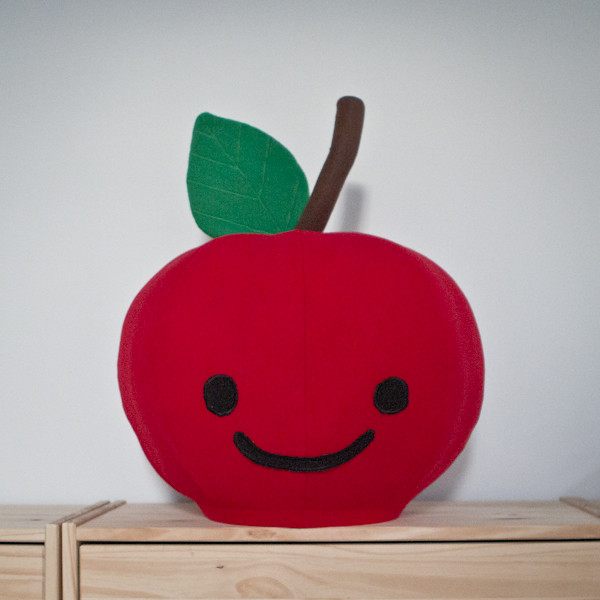
This is a project I've been wanting to do for very long time!
I generally don't like to show my face in public so I've been wanting to make a coverup mask for any photos that I'm in.
Originally I wanted to do papercraft apple head where I was ready to make. But luckily I found another alternative to make this apple head!
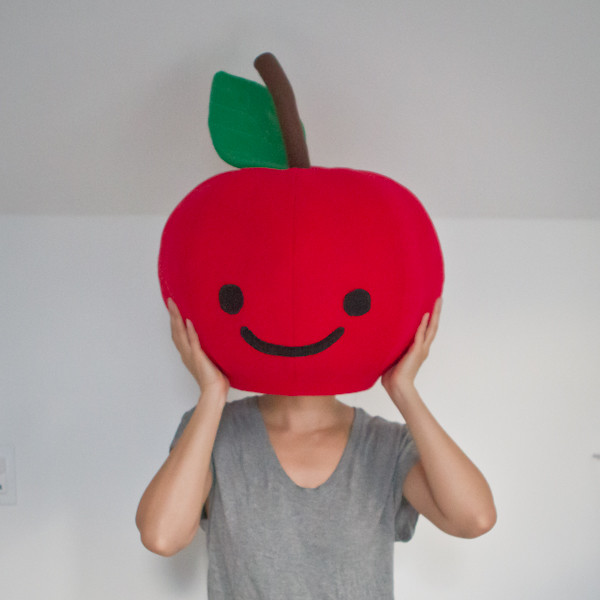
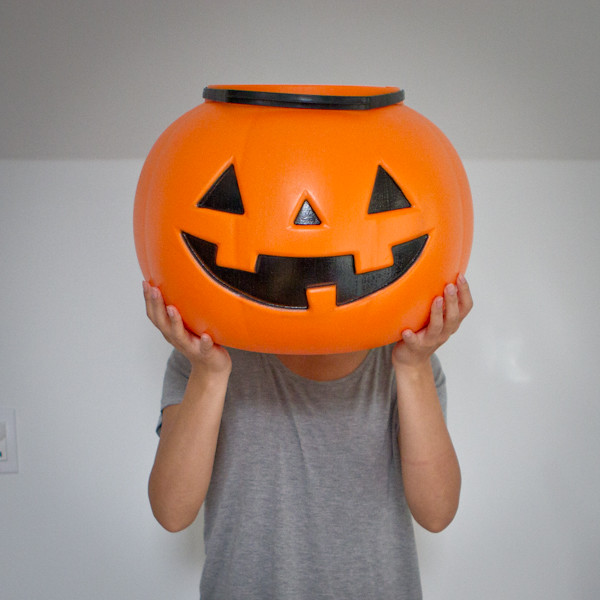
I found this jack-o-lantern bucket at Target for $6US.
The bucket hole can fit through my head so this was perfect bucket to make apple head project!
Materials:
- 1m red fabric
- 1/2m green fabric
- 1 sheet of black felt
- 1 sheet of brown felt
- 1 jack-o-lantern treat bucket
Other materials:
- sewing machine
- stitching needle
- sewing thread
- fabric adhesive sheet
- craft wires
- power drill
- glue gun
- x-acto knife
- fabric chalk
- paper clips
- cotton
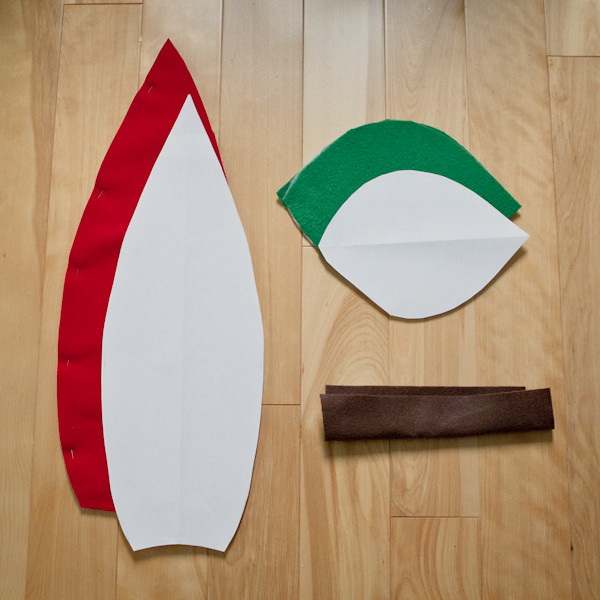
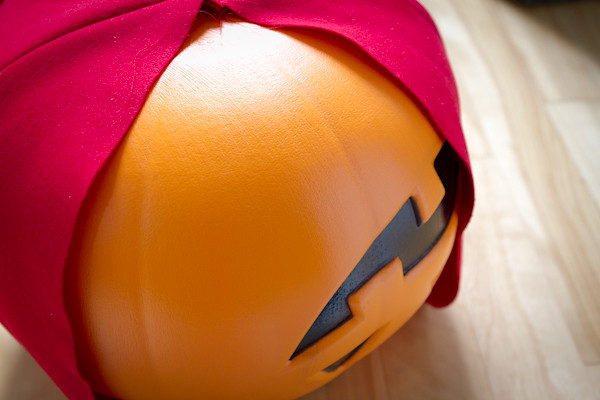
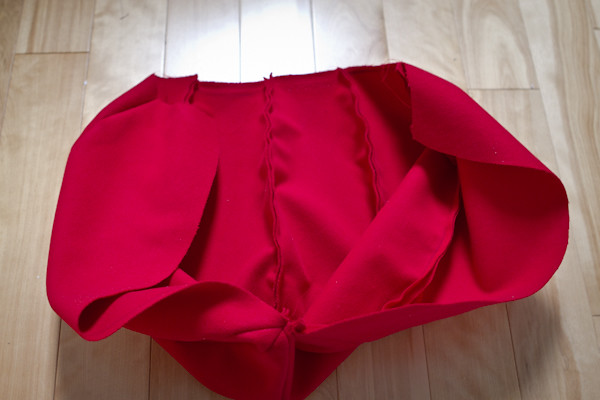
To make sphere, I had 8 pieces of flower petal shape and sewed together. I made up the pattern so I had to constantly check if it was wrapping correctly.
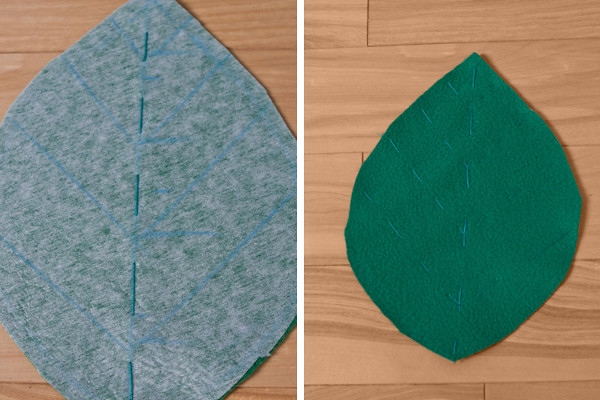
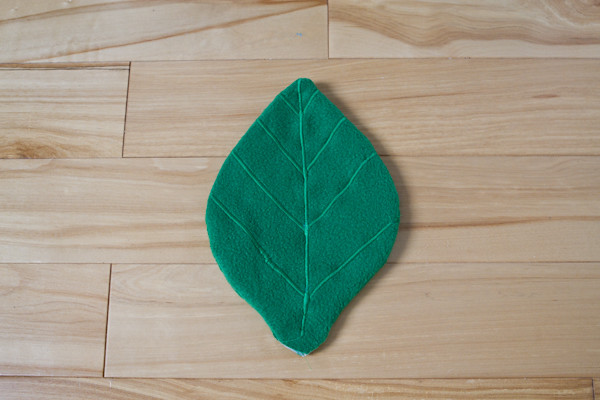
Have 2 cut outs of leaf shape.
Used fabric adhesive sheet on green fabric, drew and stitched to mark where I want the embroidery to be.
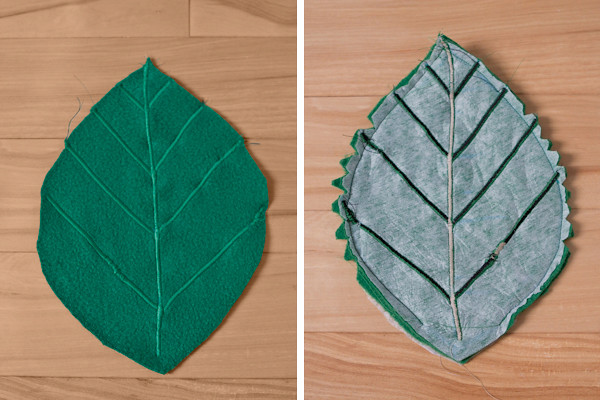
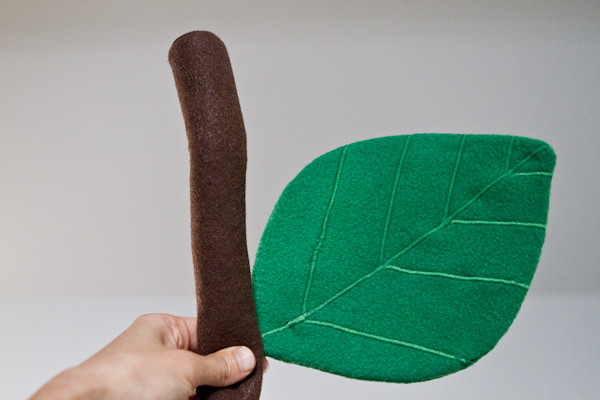
Left Image is the final result of the stitchery looks like, following the marking earlier. I used the default zig-zag stitch setting on sewing machine so some area looks wonky.
Right Image is when 2 pieces of leaf stitched together and how the embroidery looks like from the back side.
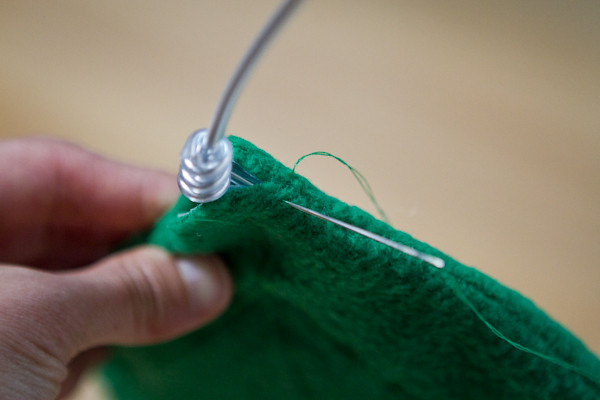
I used craft wires to keep the form without crushing it. The wire I used was super soft flexible wires so they will snap if you keep bending it on same spot few times.
I would recommend to put any wire through these stem and leaf so you have full flexibility to adjust when you put everything together.
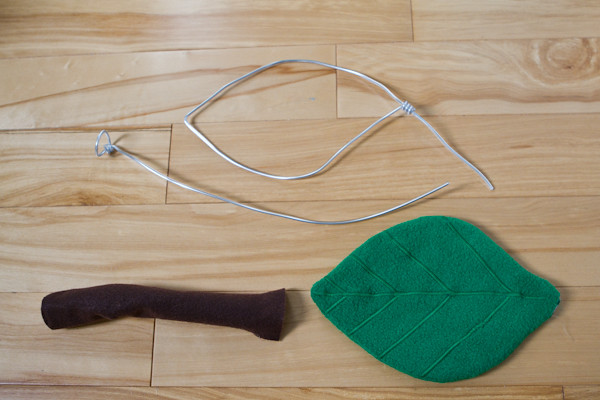
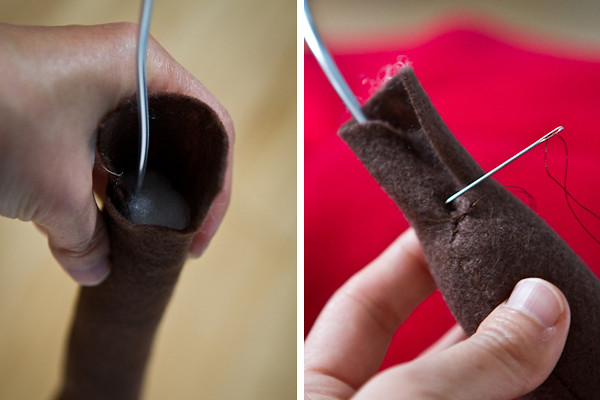
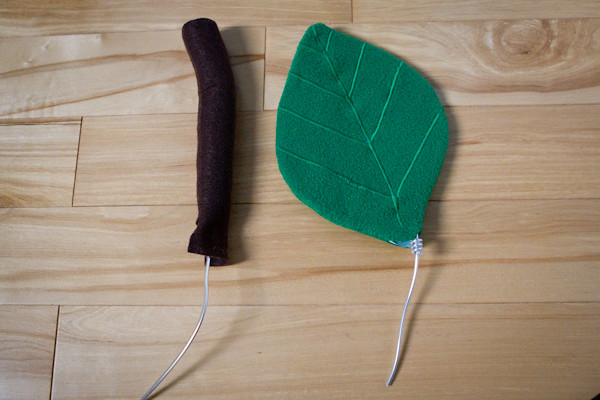
Another recommendation is to do coil wrap on the bottom part of the leaf.
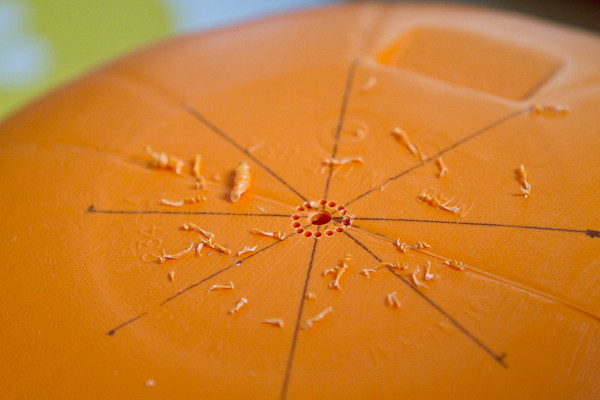
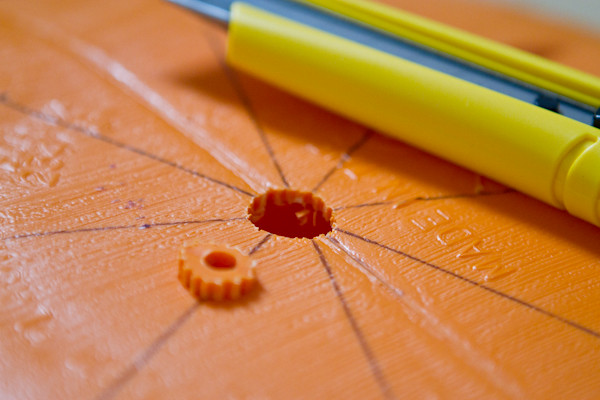
I needed a hole on top of the bucket so I used power drill and x-acto knife for it.
X-acto knife was used to shave off the rough edges.
The hole is needed to thread through the red fabric, leaf, and stem when it's time to assemble.
With excess red fabric, thread through the whole and pierce with pen or any thick dowel to create a form and to keep it stable.
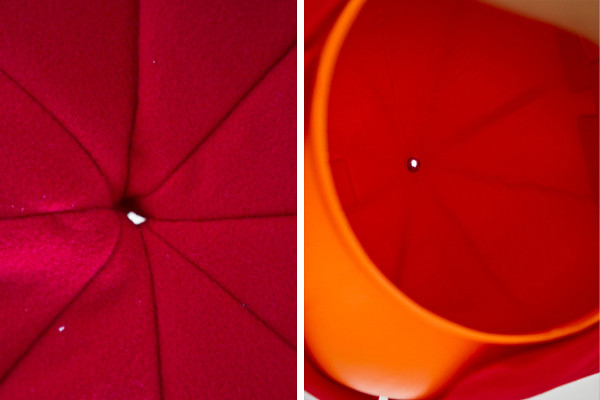
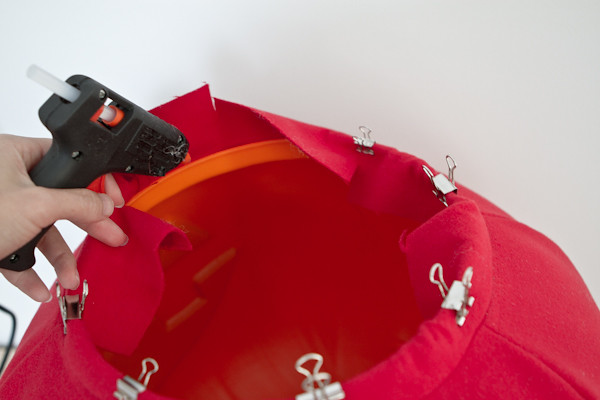
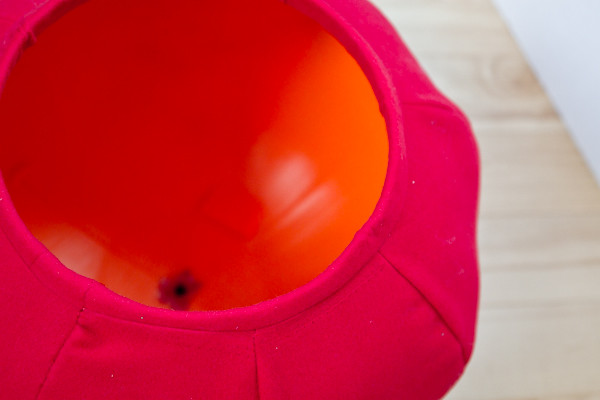
Use glue gun to glue down the excess ref fabric inside the bucket to secure. Once it's dry, you'll have clean finish of the red fabric attach to the bucket.
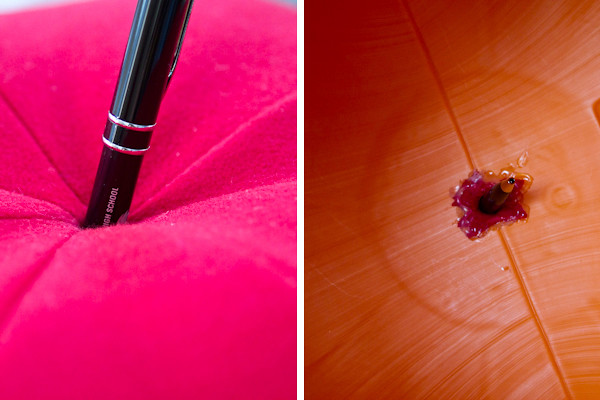

Now to close up the red fabric wrapped around the bucket.
Use paper clip to hold the 2 ends of the fabric and stitch it up.
As option, you can also stuff cotton in to add more form of the apple shape.
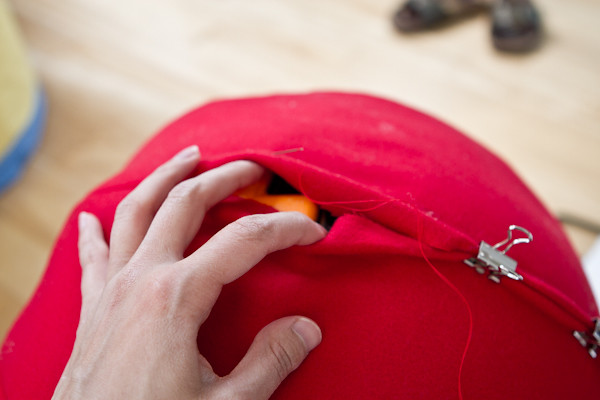
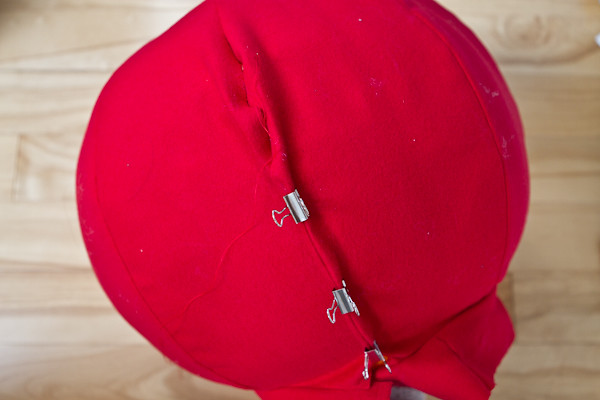
Use the glue gun to seal the trim.
First coat was around the rim, then the rest of the excess fabric is glued down further in.
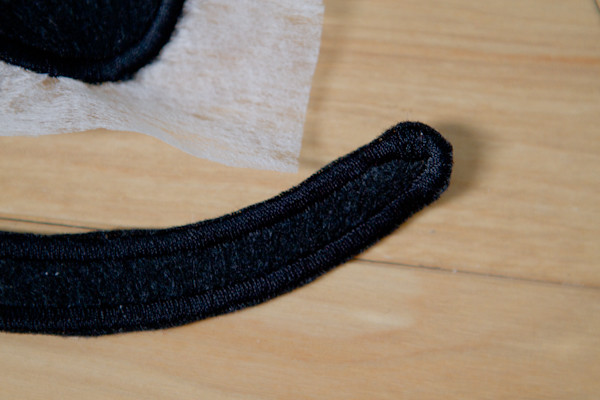
This is same step as making the leaf.
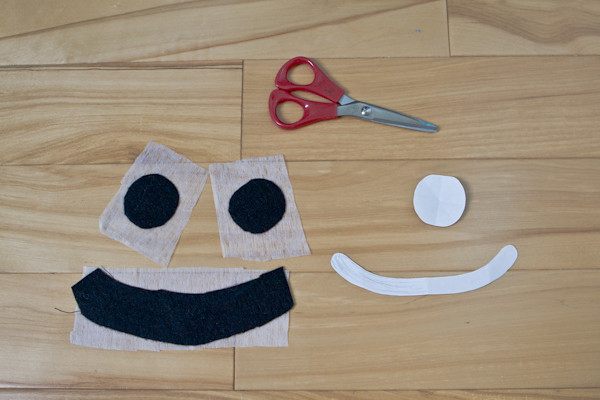
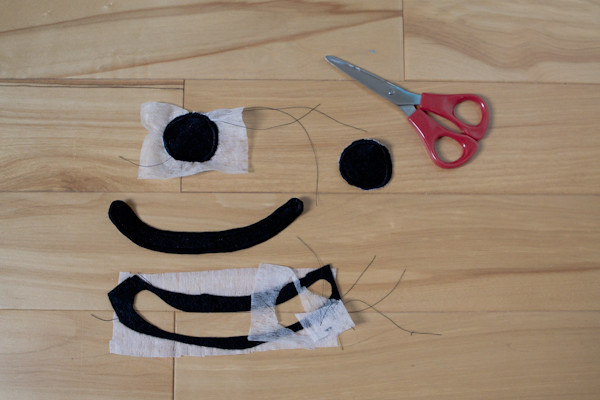
I've also zig-zag stitched this too to give a more iron-on-patch look.
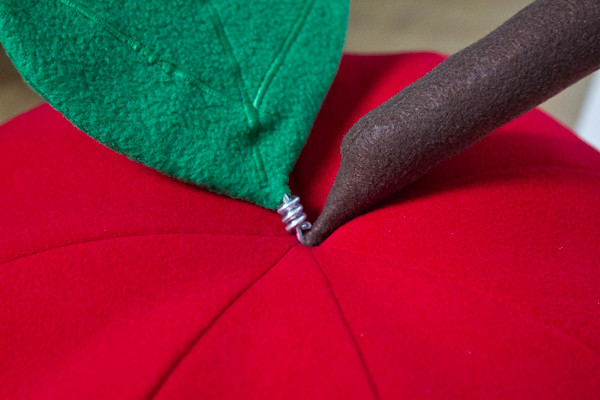
Earlier, I mentioned about recommending to do coil wrap on the leaf. To assemble, thread through the stem into the apple first and then thread the leaf.
The coil wrap will thread through the hole, making clicking noise and it'll "cap" the hole nice and secured.
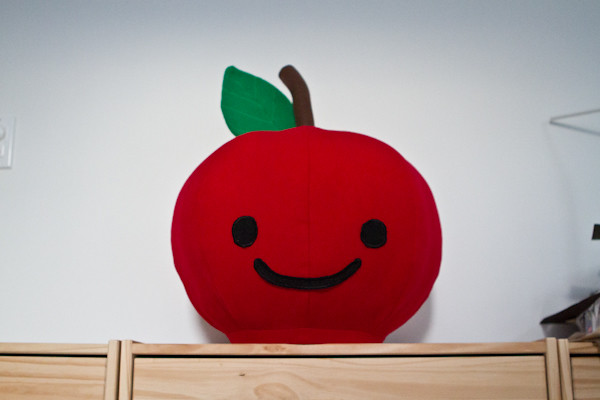
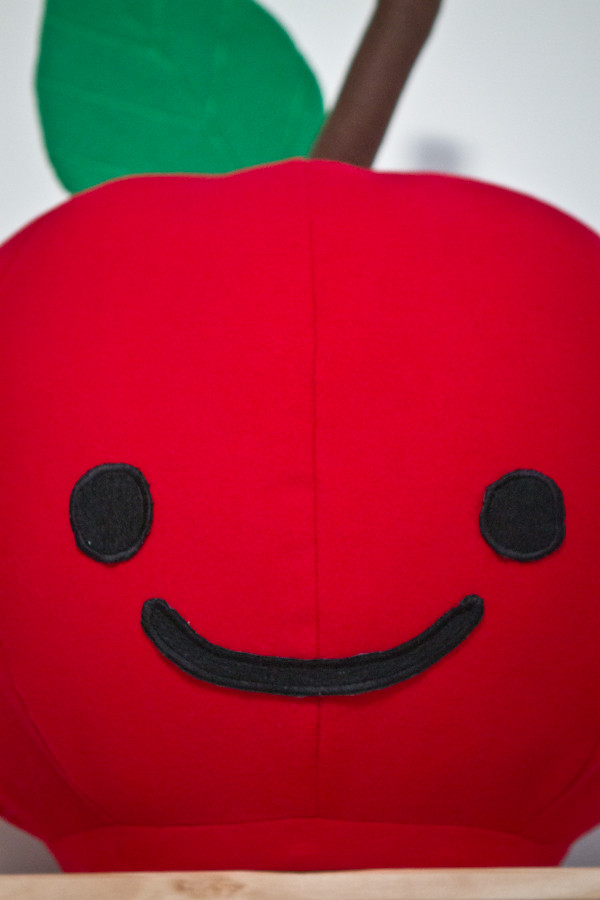
And this is the project I worked on!
I generally don't like to show my face in public so I've been wanting to make a coverup mask for any photos that I'm in.
Originally I wanted to do papercraft apple head where I was ready to make. But luckily I found another alternative to make this apple head!


I found this jack-o-lantern bucket at Target for $6US.
The bucket hole can fit through my head so this was perfect bucket to make apple head project!

Materials:
- 1m red fabric
- 1/2m green fabric
- 1 sheet of black felt
- 1 sheet of brown felt
- 1 jack-o-lantern treat bucket
Other materials:
- sewing machine
- stitching needle
- sewing thread
- fabric adhesive sheet
- craft wires
- power drill
- glue gun
- x-acto knife
- fabric chalk
- paper clips
- cotton

To make sphere, I had 8 pieces of flower petal shape and sewed together. I made up the pattern so I had to constantly check if it was wrapping correctly.


Have 2 cut outs of leaf shape.
Used fabric adhesive sheet on green fabric, drew and stitched to mark where I want the embroidery to be.

Left Image is the final result of the stitchery looks like, following the marking earlier. I used the default zig-zag stitch setting on sewing machine so some area looks wonky.
Right Image is when 2 pieces of leaf stitched together and how the embroidery looks like from the back side.


I used craft wires to keep the form without crushing it. The wire I used was super soft flexible wires so they will snap if you keep bending it on same spot few times.
I would recommend to put any wire through these stem and leaf so you have full flexibility to adjust when you put everything together.


Another recommendation is to do coil wrap on the bottom part of the leaf.


I needed a hole on top of the bucket so I used power drill and x-acto knife for it.
X-acto knife was used to shave off the rough edges.
The hole is needed to thread through the red fabric, leaf, and stem when it's time to assemble.


With excess red fabric, thread through the whole and pierce with pen or any thick dowel to create a form and to keep it stable.

Use glue gun to glue down the excess ref fabric inside the bucket to secure. Once it's dry, you'll have clean finish of the red fabric attach to the bucket.


Now to close up the red fabric wrapped around the bucket.
Use paper clip to hold the 2 ends of the fabric and stitch it up.
As option, you can also stuff cotton in to add more form of the apple shape.


Use the glue gun to seal the trim.
First coat was around the rim, then the rest of the excess fabric is glued down further in.


This is same step as making the leaf.


I've also zig-zag stitched this too to give a more iron-on-patch look.

Earlier, I mentioned about recommending to do coil wrap on the leaf. To assemble, thread through the stem into the apple first and then thread the leaf.
The coil wrap will thread through the hole, making clicking noise and it'll "cap" the hole nice and secured.


And this is the project I worked on!

Comments
Post a Comment