Bow Tie
Made bow tie for Tim to attend a wedding.
This bow tie is made with simple construction compare to traditional bow tie. It's using elastic band as strap so it's easy to put over through your head and go under the collar.
With this simple bow tie you can use it as a bow tie, hair clip or pins!
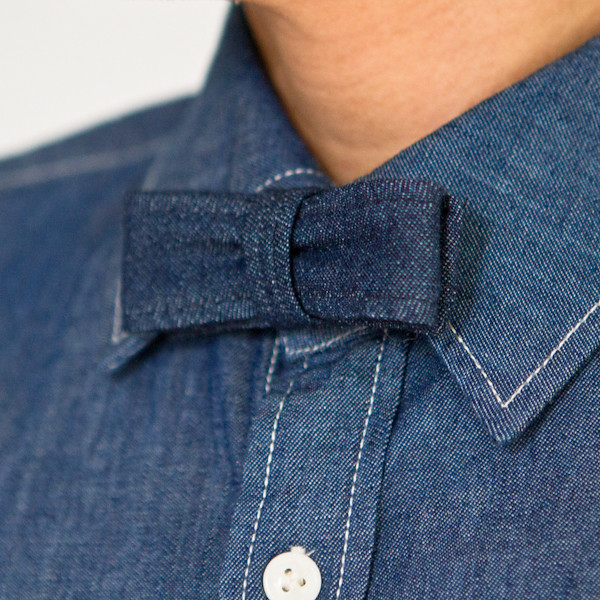
Originally I was going to make fabric strap but made last minute change that using elastic band. It is a lot easy alternative to wear it around the collar.
Materials:
- Denim fabric
- Elastic band
Supply:
- Fabric scissors
- Sewing needle
- Thread
- Ruler/tape measure
- Piece of paper
- Sewing machine
- Iron
Bow tie measurement:
Bow: 3cm x 25cm
Bow knot: 1.5cm x 8cm
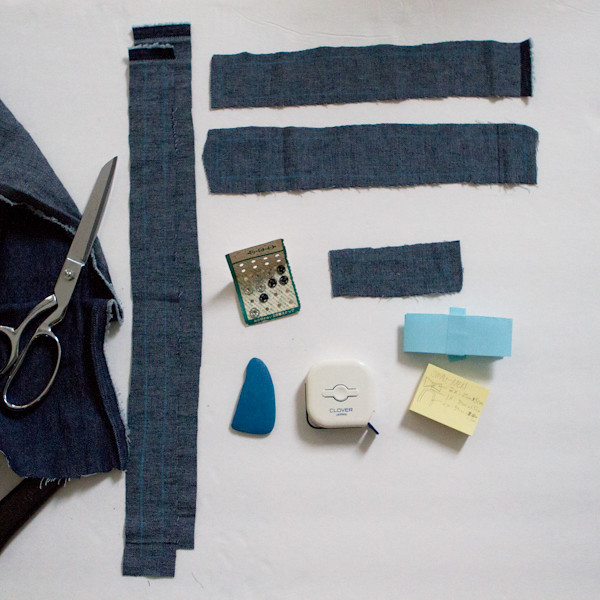
Step1:
Use any piece of paper to decide the on bow size and use it as pattern tracer.
For bow, you need two of 3cm x 25cm
Bow knot one of 1.5cm x 8cm
Trace your pattern on fabric with chalk and decide how much excess fabric you need to stitch. (I left mine with 3/8).
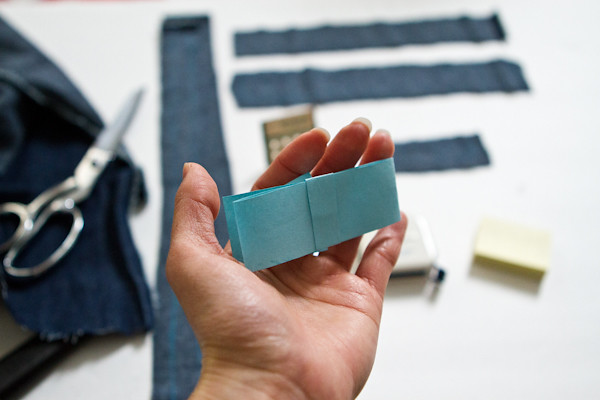
Step 2:
With 2 pieces of 3cm x 25cm, put the front-side face together and use needles to pin together to secure for sewing.
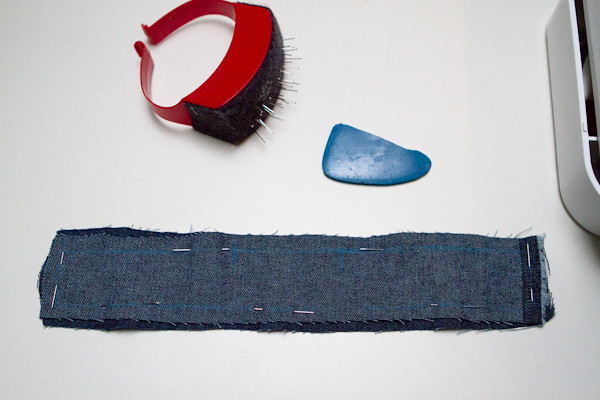
Step 3:
When sewing, have about 5-7cm unstitched so you can flip it inside-out. Leave a mark so you don't accidentally stitch all the way.
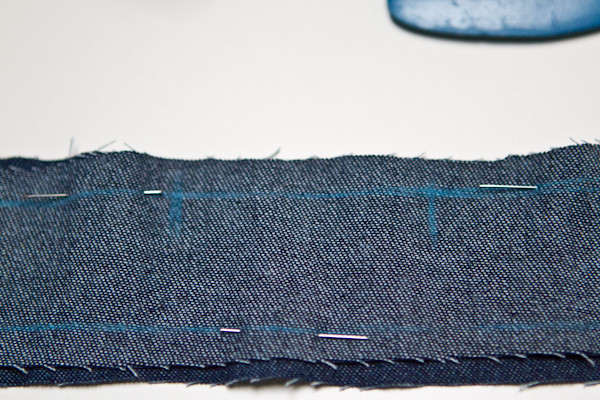
Step 4:
After stitching around with a gap in the middle, cut the 4 corners and any excess fabric around it. This will help get cleaner fold when you flip it inside-out.
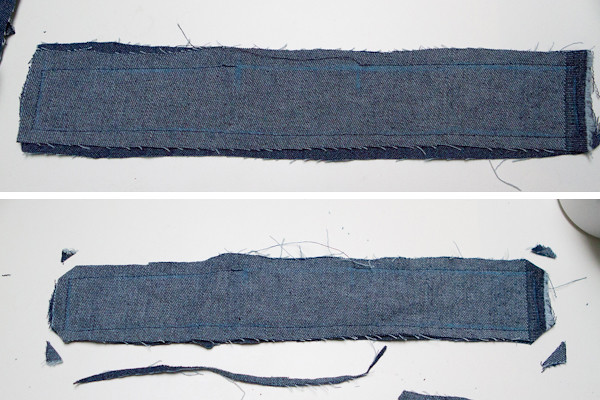
Step 5:
Flip the bow inside-out.
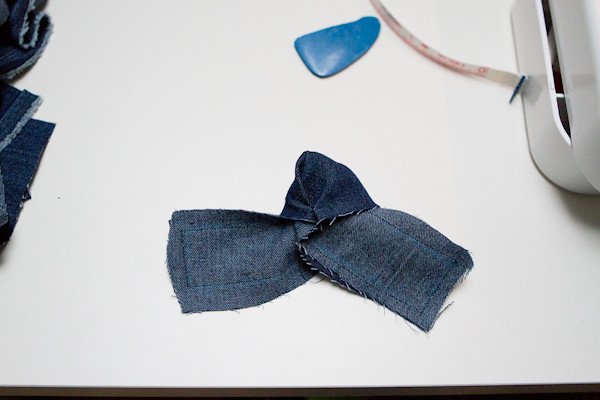
Step 6:
Use iron to get to get cleaner fold.
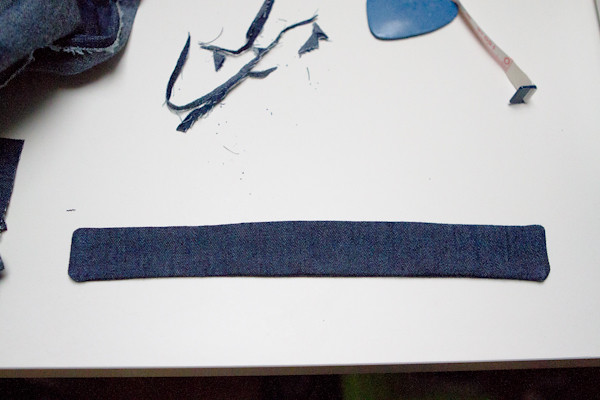
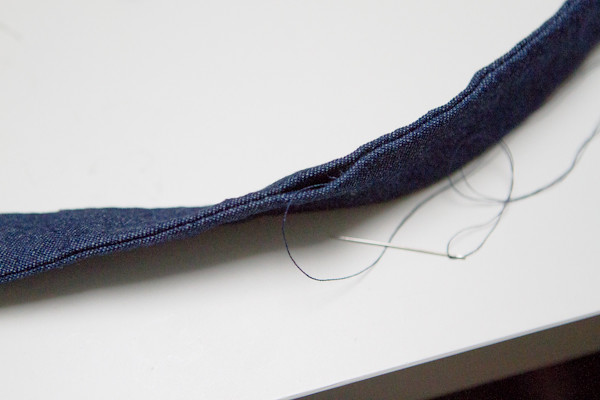
Step 7:
Stitch the gap to close.
Step 8:
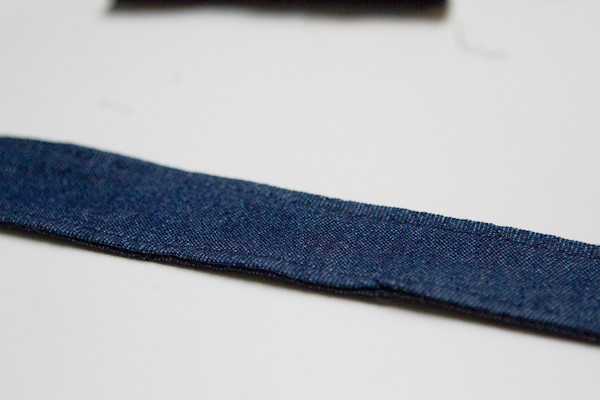
Optional: Hem across the edge for decoration.
Step 9:
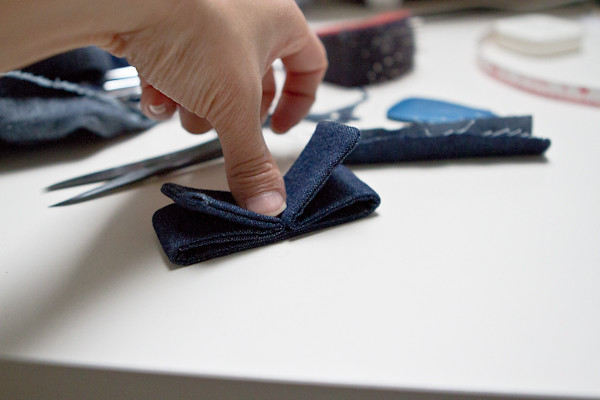
This is how bow will fold in final form. The ends of the bow should align with the loop of the bow.
Step 10:
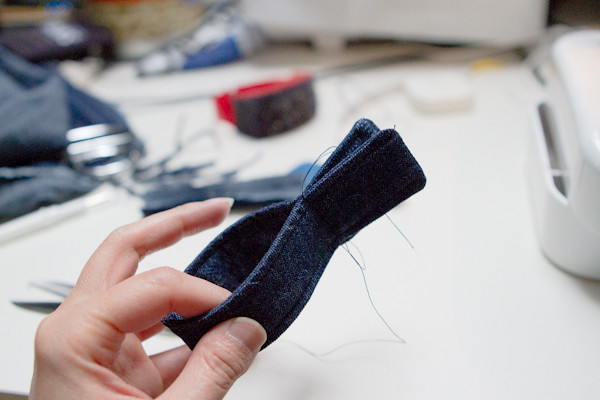
Stitch across the fold to secure the shape.
Step 11:
The bow knot is folded twice. Use needle to secure the fold and hem the edges on both side.
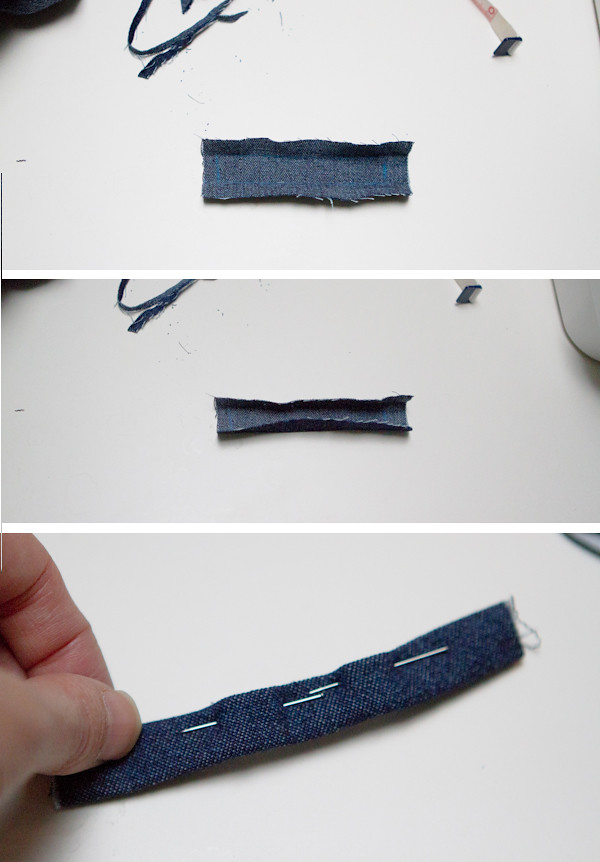
Step 12:
When two pieces are ready to put together, wrap the knot around the bow and decide how tight you want the knot to wrap around the bow.
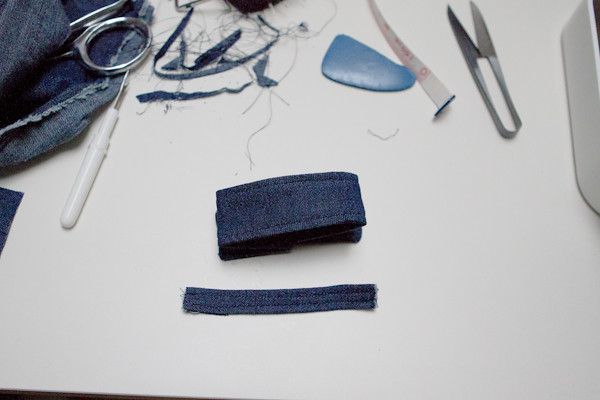
Step 13:
I went for looser wrap, just enough to see the bow folds. After that stitch the knot together.
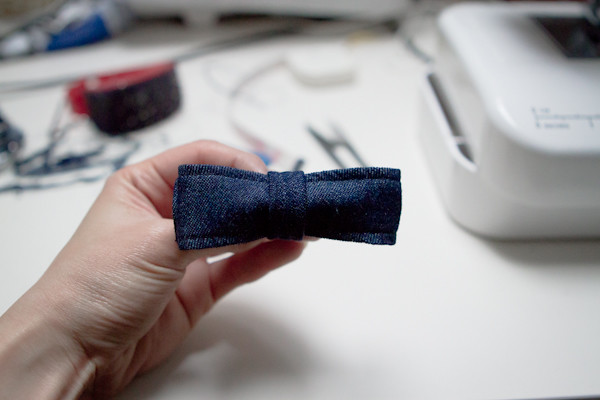
For final finish, you can thread elastic band through the knot and decide how much elastic you need to wrap around the collar.
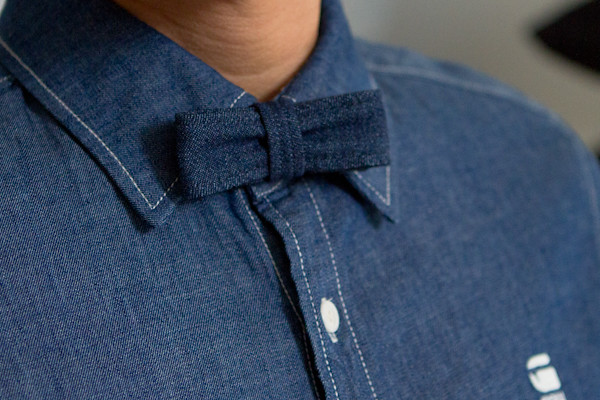
This bow tie is made with simple construction compare to traditional bow tie. It's using elastic band as strap so it's easy to put over through your head and go under the collar.
With this simple bow tie you can use it as a bow tie, hair clip or pins!

Originally I was going to make fabric strap but made last minute change that using elastic band. It is a lot easy alternative to wear it around the collar.
Materials:
- Denim fabric
- Elastic band
Supply:
- Fabric scissors
- Sewing needle
- Thread
- Ruler/tape measure
- Piece of paper
- Sewing machine
- Iron
Bow tie measurement:
Bow: 3cm x 25cm
Bow knot: 1.5cm x 8cm

Step1:
Use any piece of paper to decide the on bow size and use it as pattern tracer.
For bow, you need two of 3cm x 25cm
Bow knot one of 1.5cm x 8cm
Trace your pattern on fabric with chalk and decide how much excess fabric you need to stitch. (I left mine with 3/8).

Step 2:
With 2 pieces of 3cm x 25cm, put the front-side face together and use needles to pin together to secure for sewing.

Step 3:
When sewing, have about 5-7cm unstitched so you can flip it inside-out. Leave a mark so you don't accidentally stitch all the way.

Step 4:
After stitching around with a gap in the middle, cut the 4 corners and any excess fabric around it. This will help get cleaner fold when you flip it inside-out.

Step 5:
Flip the bow inside-out.

Step 6:
Use iron to get to get cleaner fold.

Step 7:
Stitch the gap to close.

Step 8:
Optional: Hem across the edge for decoration.

Step 9:
This is how bow will fold in final form. The ends of the bow should align with the loop of the bow.

Step 10:
Stitch across the fold to secure the shape.

Step 11:
The bow knot is folded twice. Use needle to secure the fold and hem the edges on both side.

Step 12:
When two pieces are ready to put together, wrap the knot around the bow and decide how tight you want the knot to wrap around the bow.

Step 13:
I went for looser wrap, just enough to see the bow folds. After that stitch the knot together.

For final finish, you can thread elastic band through the knot and decide how much elastic you need to wrap around the collar.

Comments
Post a Comment