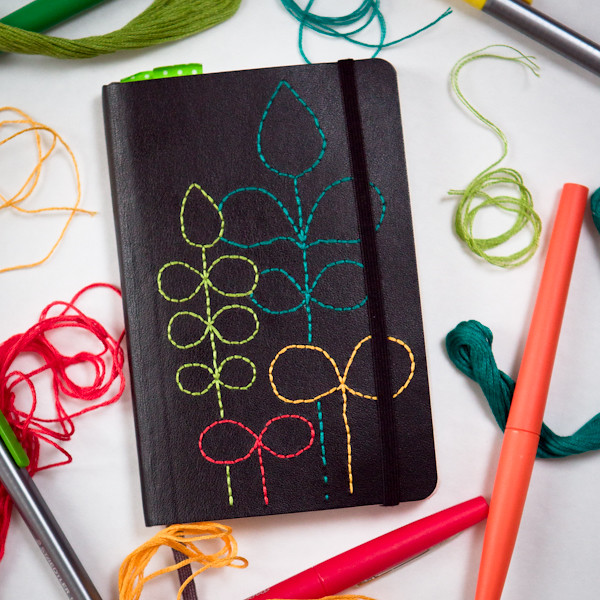
2016 Moleskine Planner
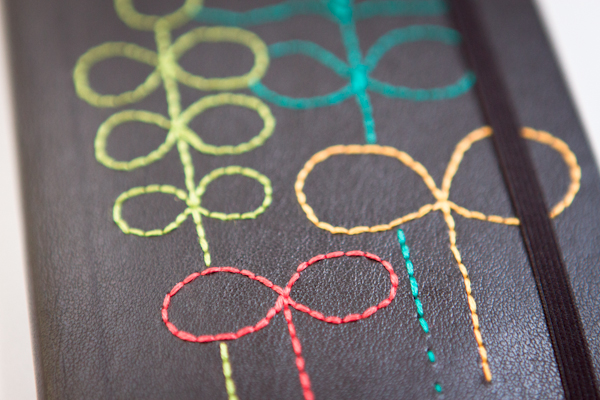
I started using Moleskine agenda for 3 years now. Fun part about using this is that you can decorate the cover. This is a new technique I found that I want to continue in the following year.
2016 is almost here, Let's enjoy rest of 2015!
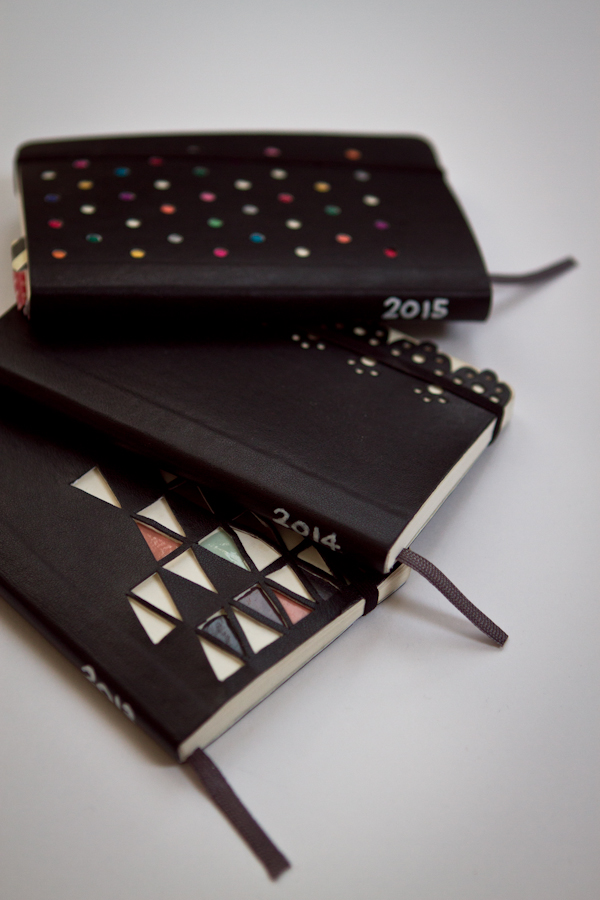
Here are other ideas for Moleskine covers I did in the past!
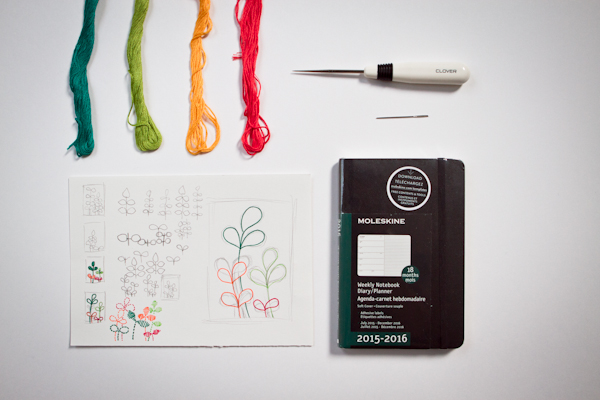
Materials:
- Moleskine Agenda
- 1 Sewing Needle
- 4 colors Embroidery Threads
- Sewing Awl or Ice Pick
- Pencil and Eraser
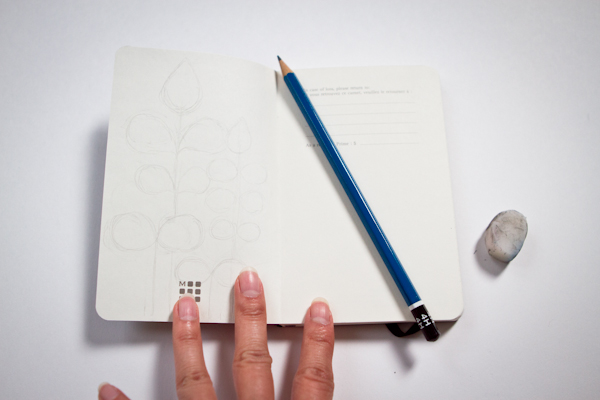
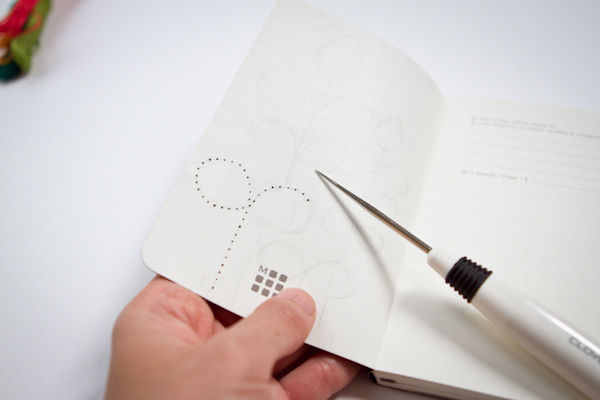
1. Behind the cover of the book, make line art of your design.
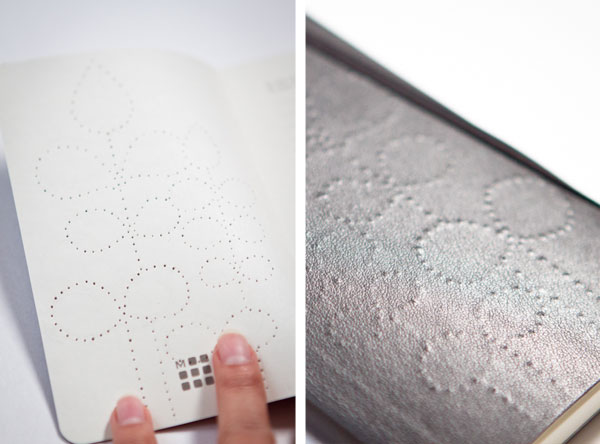
2. Pierce holes following the line drawing. About 0.2~0.3mm apart or your preference.
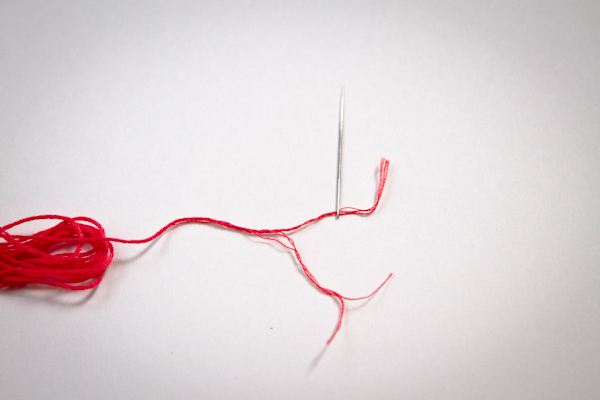
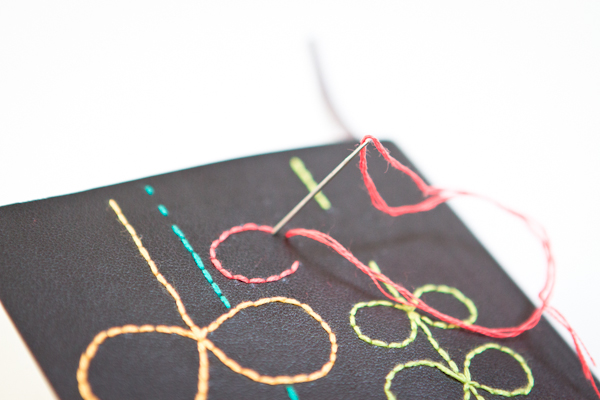
3. Unravel embroidery thread and thread 3 strands through the needle.
4. Stitch the pattern.
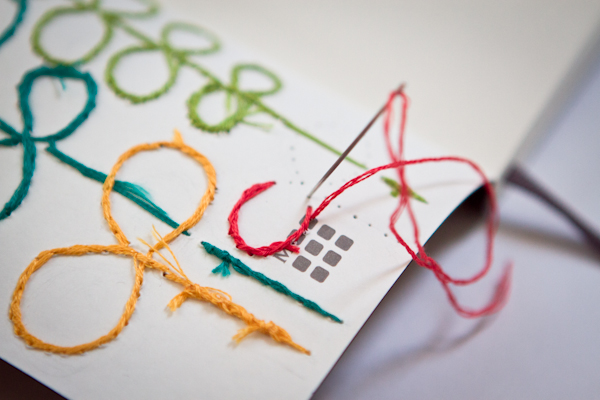
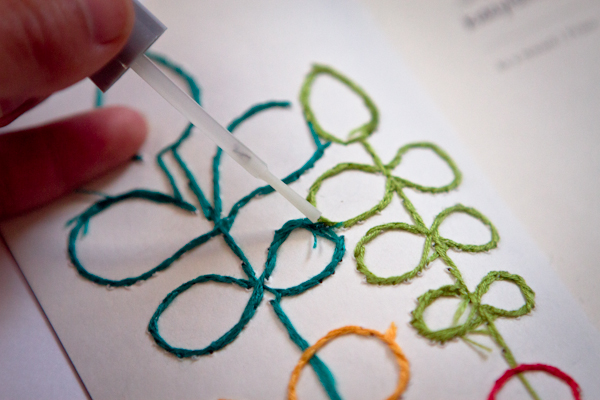
5. Option: When your done stitching, you can brush with nail polish on the knots to stiffen so knots won't untangle.
2016 is almost here, Let's enjoy rest of 2015!
Here are other ideas for Moleskine covers I did in the past!
Materials:
- Moleskine Agenda
- 1 Sewing Needle
- 4 colors Embroidery Threads
- Sewing Awl or Ice Pick
- Pencil and Eraser
1. Behind the cover of the book, make line art of your design.
2. Pierce holes following the line drawing. About 0.2~0.3mm apart or your preference.
3. Unravel embroidery thread and thread 3 strands through the needle.
4. Stitch the pattern.
5. Option: When your done stitching, you can brush with nail polish on the knots to stiffen so knots won't untangle.

Lovely! :-)
ReplyDelete