


For this planner, it's very similar instruction to my 2016 Moleskine Planner if you want to take a look here too:
http://yukikotsu.blogspot.ca/2015/12/2016-moleskine-planner.html
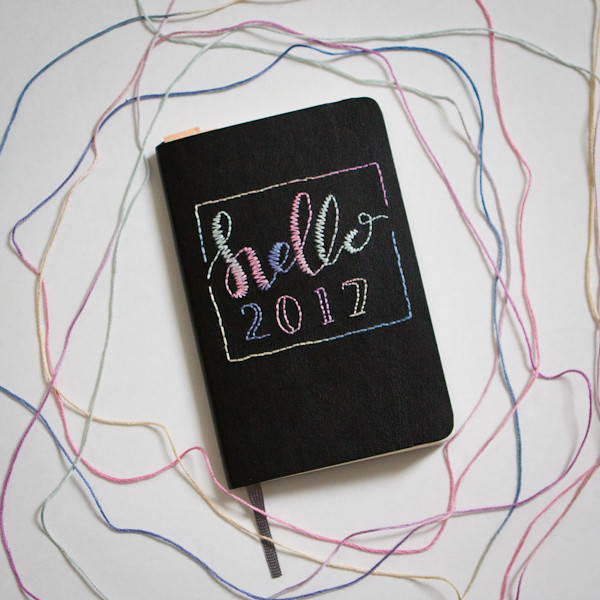
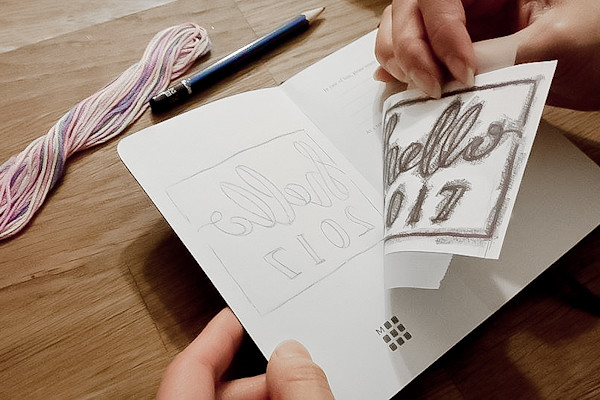
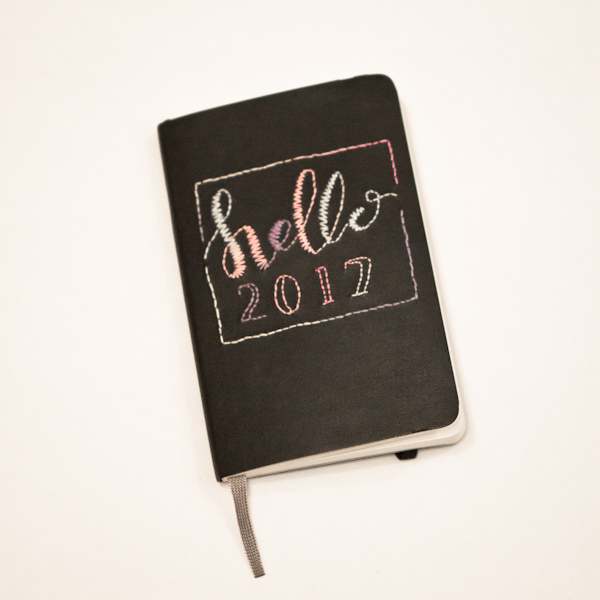
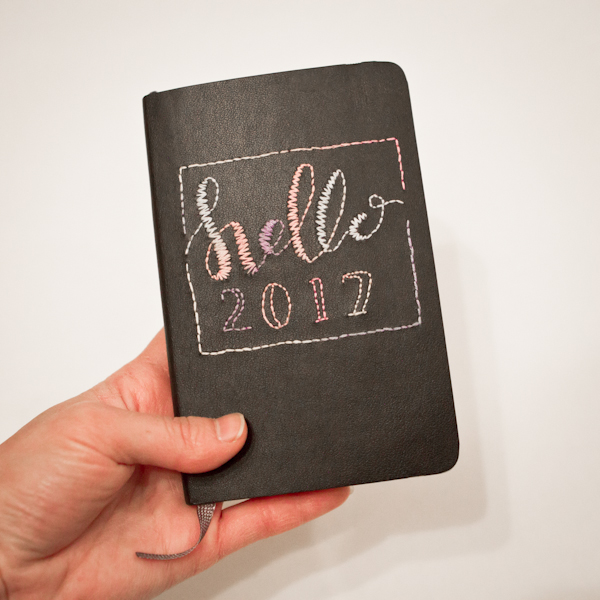
Earlier, I got a planner as a gift but I wanted to continue the tradition of using Moleskine planner so I asked to exchange. While deciding on the new design, I decided to use the same cover design from the planner I exchanged.
So I drew the design that I want on the planner with right scale on a piece of paper. I used any marker to draw the design so I can see the design from the back of the paper for transferring purpose.
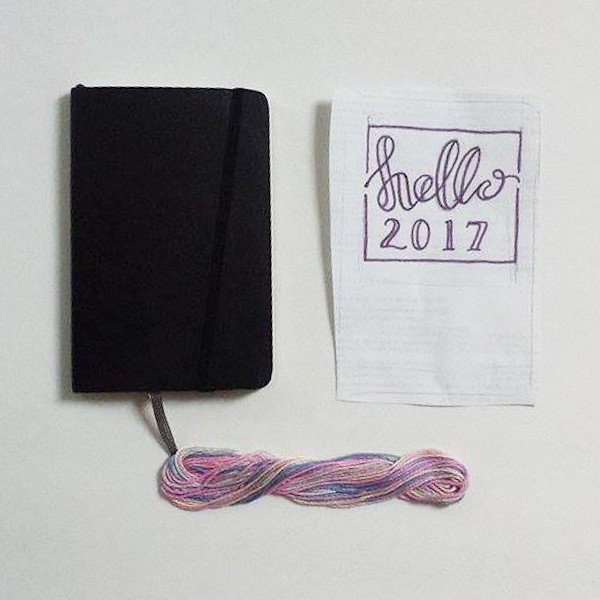
Material:
- Moleskine weekly planner
- Sewing needle
- Embroidery thread
- Sewing Awl or Button Hole Cutter
- Tranfering paper(regular paper with sketch of image)
- Pencil
- Scotch tape
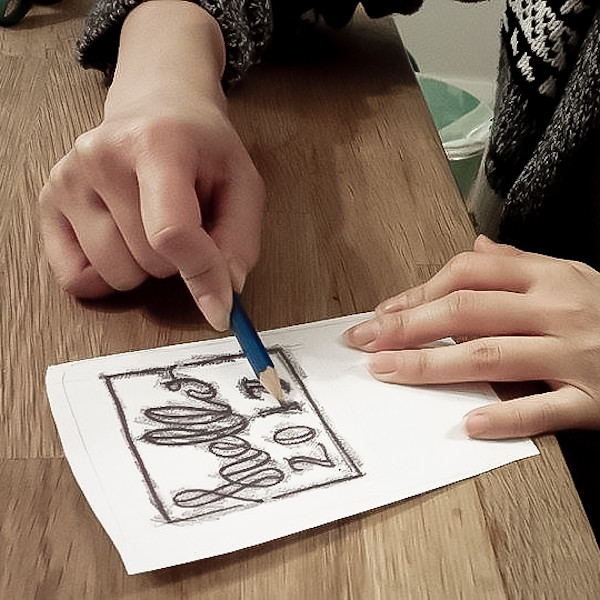
1. Use a pencil to color in the design.
2. When all the design is covered with pencil lead, flip the paper on the back of the planner's back side.
Use Scotch tape or removeable tape to secure the paper.

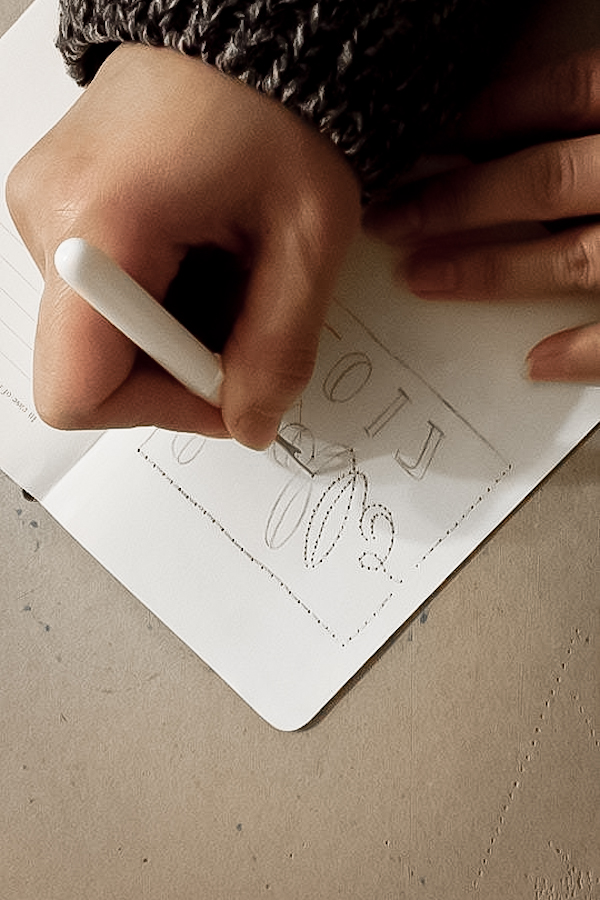
3. Use the pencil to redraw the design.
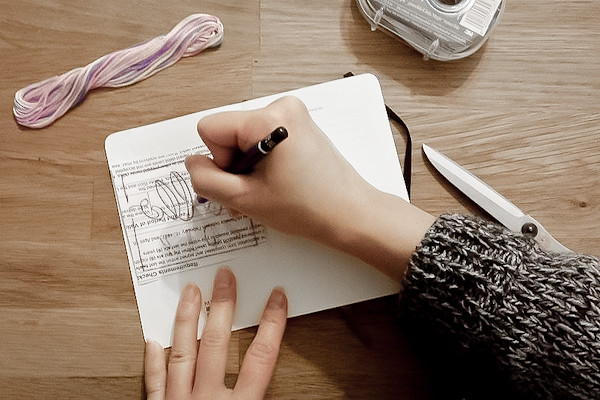
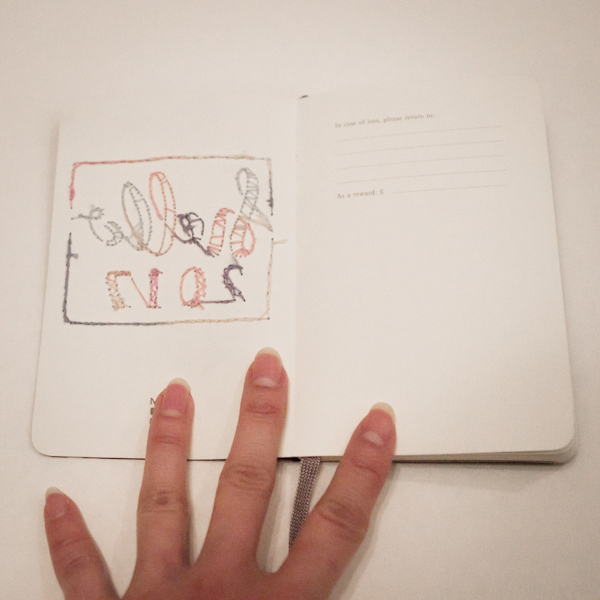
4.Slowly remove the transferring paper and check if all the design is transferred.
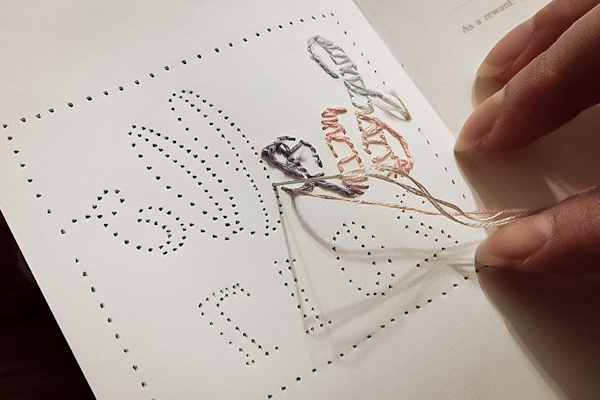
5. Use button hole cutter to pierce the hole to stitch. (have a hard board underneath)
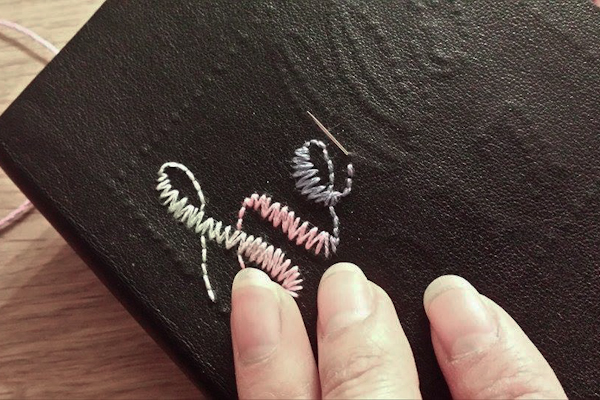
6. Pick any thread color and stitch.


No comments:
Post a Comment